The Setup | ||
|
Copyright (C) 2004
|
To see the layer, we need to scan the laser beam. To do that, we need to
rotate a mirror that we can bounce the laser beam off.
Here's a diagram of the system:
                          steam       __
   +---------+   laser    ((((       /  \
   |  Laser  |-----------))))-------|    |
   +---------+   beam   ((((         \__/
                       \____/     Rotating mirror
                       Teapot     scans beam back
                                  across steam
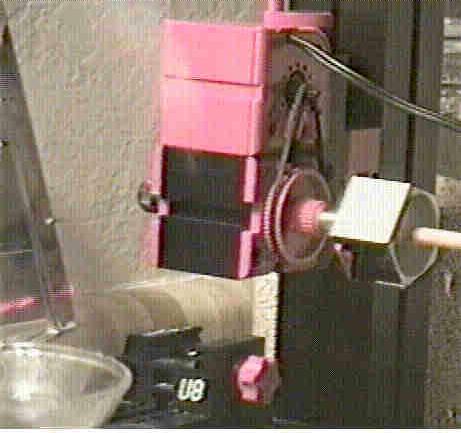
I took a surplus front surface laser scanner mirror, the pentagonal thing you see in the middle right of the picture below, hexagonal in the diagram above, and mounted that on a stick. Then I attached that to an electric motor. An electric drill could have been used, but I happened to have a handy UNIMAT 1 toy milling machine that I picked up at a flea market, so I used that. The red and black thing in the center of the first photo is the motor. (Due to space limitations, the laser beam crosses near the steam, and is then scanned back across the steam. If you have more room, you can do better.) Another friend simply glued a mirror to the flat surface of the bottom of an old floppy disk drive so that it stood up on edge. then he modified the electronics to spin at a different speed. (Not simple...) There are many ways to spin a mirror. Here's my rig: 
(Update: Some laser pointers are now stronger than the HeNe laser I used in 1994, and today's digital cameras are far more sensitive than the video camera I used. Bar code scanners are another source of scanned laser beams.) As the motor turns, the thin beam of laser light hitting the mirror is reflected back towards general direction of the laser, and the rotation of the mirror scans it upwards. Wherever the water droplets are more concentrated in that thin laser beam. more light will be scattered by the droplets. Our eyes, and the video camera, will put those sparks of light together to make it seem an entire plane of steam is illuminated at once. If you were to put the shutter on high speed, you might actually see that the beam illuminates only part of that plane at any one time. Now, lets take a look atthe pictures. | |